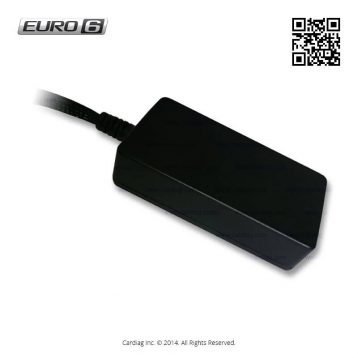
AdBlue Emulator EURO 6 NOx (Version 2) for Volvo trucks is compatible with Volvo FH4 EURO 6 and Volvo FM4 EURO 6 vehicles. Only these series of Volvo EURO 6 vehicles supported and you should avoid connecting this module to other EURO 6 or EURO 5 vehicles.
This installation manual describes the whole process of AdBlue Emulator device installation on compatible Volvo EURO 6 vehicles. We highly recommend you to delete all DTC (Diagnostic Trouble Codes) errors from OBD (On-Board Diagnostics) system. The best option is to use Volvo 88890300 or any other compatible diagnostic scanner. If you noticed new DTC errors after installation, please check the system again with the diagnostic scanner because there might be errors related to incorrect installation. For the safety reasons we highly recommend to start the installation by connecting a ground wire first of all.
This emulator doesn’t require an additional programming or learning, but to make sure it will be fully compatible with your truck it’s necessary to prepare it by altering the program. Please provide VIN (Vehicle Identification Number) and DEF (Diesel Exhaust Fluid) tank capacity when purchasing a new emulator from our shop. We will alter the default settings of the emulator to make it 100% compatible with your truck.
AdBlue Emulator EURO 6 NOx installation step by step
First of all, you need to locate the ACM (SCR system) ECU. It is located in the centre of the vehicle (Volvo FH4 EURO 6 or Volvo FM4 EURO 6) frame next to CCIOM ECU. Please mount the emulator safely nearby the ACM module, and you need to protect it from direct water splashes and high humidity. Now when you located the ACM ECU, you need to connect the emulator to its plug (ACM system plug). There are two identical pairs of wires in the protective pipe, and you need to identify which wires you need to use the connection. The best way to determine the wires is to trace them by the pins of the plug.
| Emulator wire color | Emulator wire function | ACM ECU plug pin number | ACM ECU plug wire color |
|---|---|---|---|
| Black | Ground (-) | 58 | White (thick wire) |
| Green | A CAN High | 5 | Yellow |
| Yellow | A CAN Low | 1 | Green |
| Grey | CAN High | 14 | Yellow |
| Blue | CAN Low | 10 | Green |
You can see the table above that shows which wires of the emulator must be connected to the certain wires of the plug. Also, you need to cut the violet color wire (PIN 3) of the ACM ECU plug. Now when you cut the violet wire please take the end of the violet wire that goes to the plug of ACM and connect it with the white wire of the emulator. Now take the other end of the cuted violet wire that goes to the vehicle and connect it to the red wire of the emulator.
You can switch AdBlue Emulator on and off quickly by vehicle BC. To do this make these steps:
- Enter the vehicle BC menu and select “Service Operations”.
- Then select “Diagnostics”.
- And then “ECU information”.
- Now if you want to turn AdBlue Emulator ON, please read the state of ACM ECU two times within period of 10 seconds.
- And if you want to turn AdBlue Emulator OFF, please read the state of the ACM ECU three times within period of 10 seconds.
When you read the state of the ACM ECU once, and you get the “Read Error” message it means that the emulator is ON.
The most important thing is to look after the DPF (Diesel Particulate Filter) filter. After installation of the AdBlue Emulator on the EURO 6 truck you need to remove DPF (here is the DPF removal manual). Otherwise, you need to turn off AdBlue Emulator periodically once in two weeks and drive at least 500 kilometers to make the DPF regeneration possible.
Possible faults
- Remove and clean catalyst and DPF (if not removed yet)
- Switch on regeneration by the diagnostic tool like (Vocom or Texa only)

Related products
-

SCR Emulator EURO 6 (Scania and Mercedes-Benz)
Sale! $154 – $412 Select options This product has multiple variants. The options may be chosen on the product page
